One of my favorite projects I’ve made so far, I introduce to you the Light Islands!
They provide soft diffused light, look amazing, and are press fit together!
Parts list: FCOB LED Strip – I chose 3000K for a nice warm color temperature Zigbee LED controller – I chose this one because it was simple and Zigbee compatible, but there are many options, so there’s almost certainly one that works for you.
Or, you can forgo it in favor of just running them at full brightness all the time. 12V Power Adapter – This was pretty overkill for me, but that’s also not necessarily a bad thing.
Just make sure to pick the right voltage brick for your LED strips, as some are 5V, 12V, or 24V. 22/2 Wire – I used 18/2 wire which is way overkill and barely fit through the holes in the skadis.
I’m recommending 22/2 wire because it’s still more than enough and will fit through the holes much better.
Tools List: Wire strippers Scissors Soldering iron Solder Assembly: Print out the 3D printed parts Cut a ~14 inch (~356mm) length of LED strip Then, solder a few feet of wire to the LED strip Adhere the LED strip to the inside of the “frame” piece with the square holes in it, starting at the center of one of the long edges of the frame, so that the wire can curve down and run across the two square holes in the center of the frame for the cable clip.
Press the cable clip into place on top of the cable, at the center of the frame, so that there’s a bit of slack between the clip and the LED strip, and so that the cable is unable to move and put any strain on the LED strip.
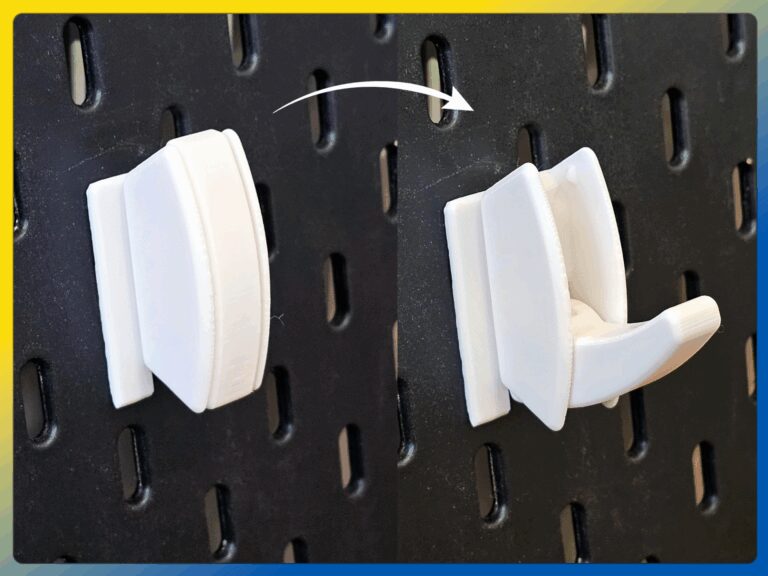
Press the two hooks into place *They press fit in really tight, so they require a lot of force and finagling to get into place, but once in place, they won’t budge.
Press the cover into place on the outside of the frame.
Feed the wire through a hole on the Skadis and hook the island onto the Skadis.
Connect the light controller or power supply to the wire, power it on, and you’re done!
Setup your light controller and/or power supply according to the included instructions.


